LightningROM-
CustomROM|BeatsAudio|Bravia Engine|JellyBean 4.1.1|XLoud|Dolby| Beats Audio|SRS WOW|ClearBass Audio Effect|Adrenaline Boost| And Much More For Micromax Funbook Pro
Feel the Thunder

Based on CM10
Features -
-Pre-rooted
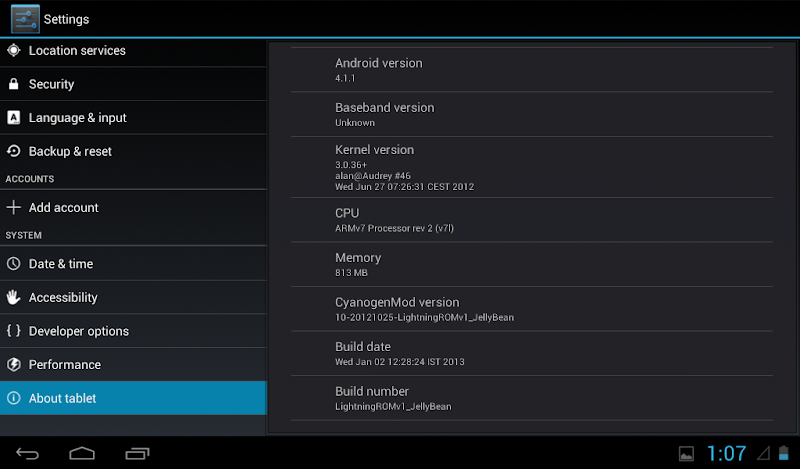
-JellyBean 4.1.1
-Zipaligned all .apk files to optimize ram
-Hardware Acceleration Enabled
-Added Init.d Support
-Better Video Playback and Streaming
-Better Camera Image Quality
-Battery Tweaks (Immense battery backup)
-Adrenaline Boost script included
-Best Touch Response
-Performance Tweaks
-Net Speed Tweaks
-Phablet UI Integrated.....change ro.disable_phablet_ui=1 to ro.disable_phablet_ui=0 in build.prop to enable
-Swap internal and external sd-card with ease… change persist.sys.vold.switchexternal=’ to 1 in build.prop to enable swap
-Tweaked Hosts File (No more advertisements)
-Ram Tweaks and Scripts
-Many Init.d tweaks
-Tons of build.prop Tweaks
-Apollo music player
-Bravia Engine
-Xloud Engine (AC!D Sound Mod)
-Dynamic Bass (AC!D Sound Mod)
-Dolby Sound System (AC!D Sound Mod)
-Beats Audio (AC!D Sound Mod)
-SRS WOW (AC!D Sound Mod)
-Clearbass (AC!D Sound Mod)
-Clearaudio+ (AC!D Sound Mod)
-Clearhase (AC!D Sound Mod)
-Replaced stock file explorer with ES File Explorer
-Removed all bloatware
-Ultra Smooth
-Lightning Fast
-Choose from over 4 Launchers (Apex,Nova,Trebuchet,Go Launcher HD)
-Much More !
What's New ? (v2)
-USB Bluetooth Support
-XBOX, PS3 Controllers and Generic Gamepads Support
-Added Android 4.2 Keyboard with Gesture Typing
-Added Android 4.2 Camera Features (Panorama mode, etc.)
-Added Android 4.2 Deskclock
-Added More Init.d Scripts
-Superchargerv6 script Included
-A Lot Smoother
What's New?(v2.1)
-Fixed App Installation Error
-Auto-Reboots Fixed
-Crashes Fixed
-Fixed Sound Problems
-Added data/app functionality
-Alienware Fire Boot Animation (A little bit changed)
What's New?(v2.2)
- Minor bug fixes
- Update Nova Launcher, Go Launcher, Terminal Emulator, ES File Explorer and some more apps.
- Added Battery Tweaks
- SD Card will work faster
- Added more Ram Tweaks
- Changed Alienware Fire Boot Animation to JellyBean Boot Animation
- Added RAM Apps
- Added Working Youtube App (You can update it also !)
- Added Gmail and Adobe Flash Player
- Added BlackMart Alpha (All paid apps free)
- Smoother
Bugs -
-1080p Videos not working smoothly
How to Install this ROM?
*This ROM is flashable via CWM recovery
Note: Make a backup before flashing this ROM, just in case something goes wrong!!
1. Download LightningROM, gapps-jb.zip and Multi DPI Play Store for JB.zip
2. Place these files on your external SD
3. Make sure you have installed CWM
4. Reboot to recovery
5. Wipe data/ Factory reset
6. Wipe Cache partition
7. Wipe dalvik cache in advanced menu
8. Choose the option Install zip from sd card and locate the zips and flash in this order -
(i)LightningROM
(ii)gapps-jb-20121011
(iii)Multi-DPI-Store for JB
9. Reboot system
10. Enjoy !
__________________________________________________ _______________
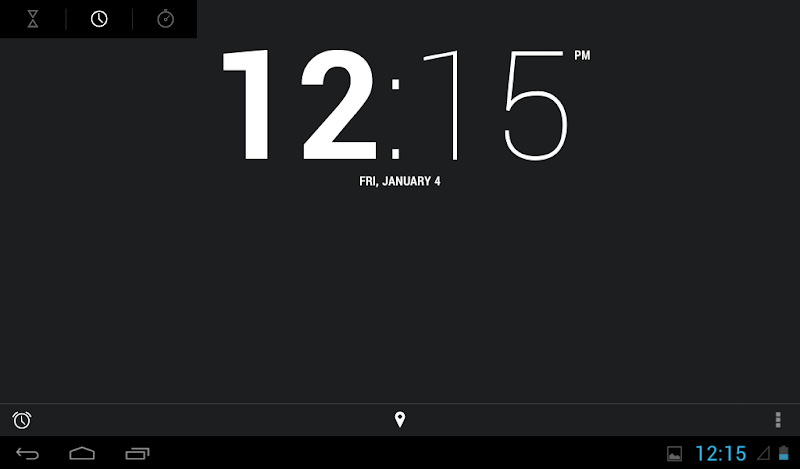
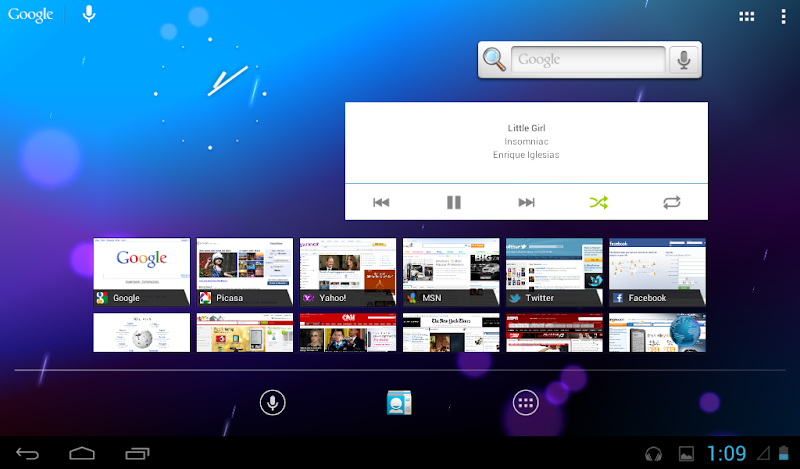
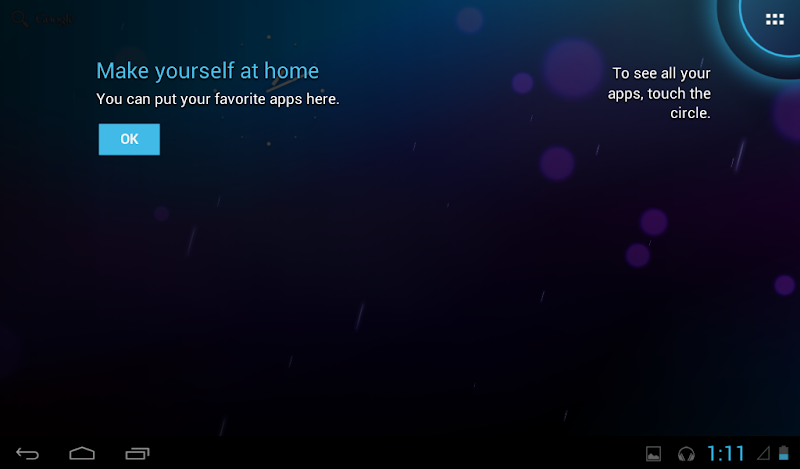
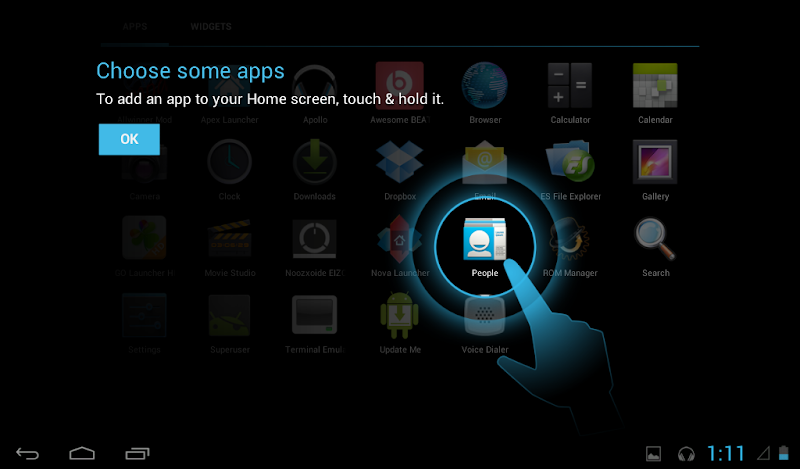
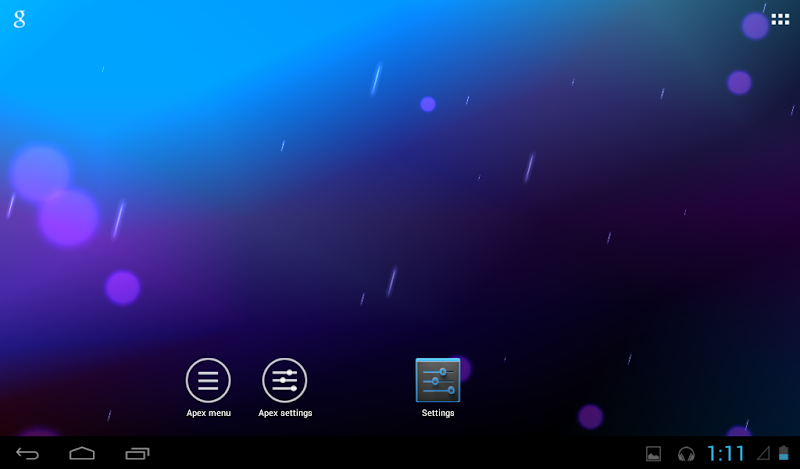
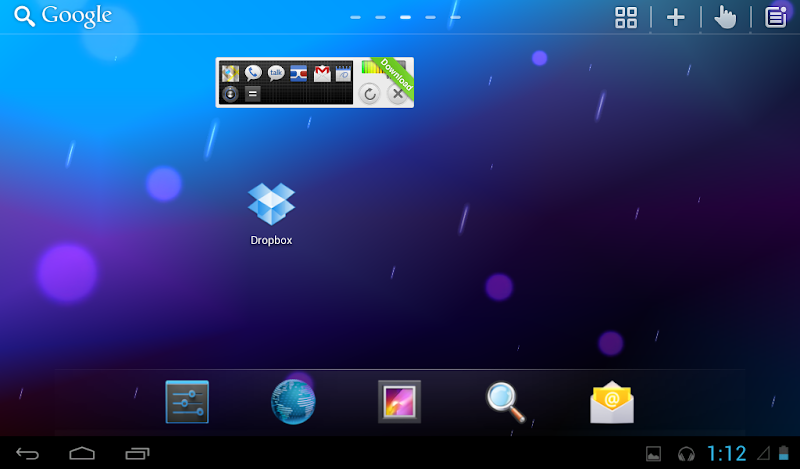
ScreenShots -

__________________________________________________ _________________________________
Downloads --->
LightningROMv2.2
LightningROMv2.1
gapps-jb-20121011-signed
__________________________________________________ ____________________________________
FAQs
1) How to use Adrenaline Boost Script ? --> Download Terminal Emulator, Open it then type
CustomROM|BeatsAudio|Bravia Engine|JellyBean 4.1.1|XLoud|Dolby| Beats Audio|SRS WOW|ClearBass Audio Effect|Adrenaline Boost| And Much More For Micromax Funbook Pro
Feel the Thunder
Based on CM10
Features -
-Pre-rooted
-JellyBean 4.1.1
-Zipaligned all .apk files to optimize ram
-Hardware Acceleration Enabled
-Added Init.d Support
-Better Video Playback and Streaming
-Better Camera Image Quality
-Battery Tweaks (Immense battery backup)
-Adrenaline Boost script included
-Best Touch Response
-Performance Tweaks
-Net Speed Tweaks
-Phablet UI Integrated.....change ro.disable_phablet_ui=1 to ro.disable_phablet_ui=0 in build.prop to enable
-Swap internal and external sd-card with ease… change persist.sys.vold.switchexternal=’ to 1 in build.prop to enable swap
-Tweaked Hosts File (No more advertisements)
-Ram Tweaks and Scripts
-Many Init.d tweaks
-Tons of build.prop Tweaks
-Apollo music player
-Bravia Engine
-Xloud Engine (AC!D Sound Mod)
-Dynamic Bass (AC!D Sound Mod)
-Dolby Sound System (AC!D Sound Mod)
-Beats Audio (AC!D Sound Mod)
-SRS WOW (AC!D Sound Mod)
-Clearbass (AC!D Sound Mod)
-Clearaudio+ (AC!D Sound Mod)
-Clearhase (AC!D Sound Mod)
-Replaced stock file explorer with ES File Explorer
-Removed all bloatware
-Ultra Smooth
-Lightning Fast
-Choose from over 4 Launchers (Apex,Nova,Trebuchet,Go Launcher HD)
-Much More !
What's New ? (v2)
-USB Bluetooth Support
-XBOX, PS3 Controllers and Generic Gamepads Support
-Added Android 4.2 Keyboard with Gesture Typing
-Added Android 4.2 Camera Features (Panorama mode, etc.)
-Added Android 4.2 Deskclock
-Added More Init.d Scripts
-Superchargerv6 script Included
-A Lot Smoother
What's New?(v2.1)
-Fixed App Installation Error
-Auto-Reboots Fixed
-Crashes Fixed
-Fixed Sound Problems
-Added data/app functionality
-Alienware Fire Boot Animation (A little bit changed)
What's New?(v2.2)
- Minor bug fixes
- Update Nova Launcher, Go Launcher, Terminal Emulator, ES File Explorer and some more apps.
- Added Battery Tweaks
- SD Card will work faster
- Added more Ram Tweaks
- Changed Alienware Fire Boot Animation to JellyBean Boot Animation
- Added RAM Apps
- Added Working Youtube App (You can update it also !)
- Added Gmail and Adobe Flash Player
- Added BlackMart Alpha (All paid apps free)
- Smoother
Bugs -
-1080p Videos not working smoothly
How to Install this ROM?
*This ROM is flashable via CWM recovery
Note: Make a backup before flashing this ROM, just in case something goes wrong!!
1. Download LightningROM, gapps-jb.zip and Multi DPI Play Store for JB.zip
2. Place these files on your external SD
3. Make sure you have installed CWM
4. Reboot to recovery
5. Wipe data/ Factory reset
6. Wipe Cache partition
7. Wipe dalvik cache in advanced menu
8. Choose the option Install zip from sd card and locate the zips and flash in this order -
(i)LightningROM
(ii)gapps-jb-20121011
(iii)Multi-DPI-Store for JB
9. Reboot system
10. Enjoy !
__________________________________________________ _______________
ScreenShots -
__________________________________________________ _________________________________
Downloads --->
LightningROMv2.2
LightningROMv2.1
gapps-jb-20121011-signed
__________________________________________________ ____________________________________
FAQs
1) How to use Adrenaline Boost Script ? --> Download Terminal Emulator, Open it then type
Code:
su
boost
2) 1080p Videos not working? --> Use MX Player to play 1080p Videos
3) How to use superchargerv6 script --> Open SManager, touch browse as root, hit back two times then go to system-->xbin-->superchargerv6.sh--> touch the su icon (make sure it is green) --> touch run. go through the script. Then choose the 9th option at the driver's console. Then choose the SuperClean and Restart Option. (you will have to run the script every time when you reboot but when you run first time it takes time to install but when u do it after reboot it will take u straight to driver's console and after that choose 33rd option and hit back.) Done !!
__________________________________________________ ____________________________________


 ) - xda-developers